So I decided to make 6 batches of soap the other day and thought I would bring along my camera to give you a behind the scenes look at what happens when I'm doing what I do. This is one day that I wish I'd had about 3 more hands though because it's not easy to make soap and photograph yourself while doing so which is why only my parts of my hands are in the pictures! :0)
First, I start by measuring all my oils and butters and then mixing my lye water for all the batches.
Here's the oils/butters measured into a stainless steel bowl.

After several minutes on the stove top they are melted.

I then add the lye water to the oils/butters and beging using a stick blender to combine the two.
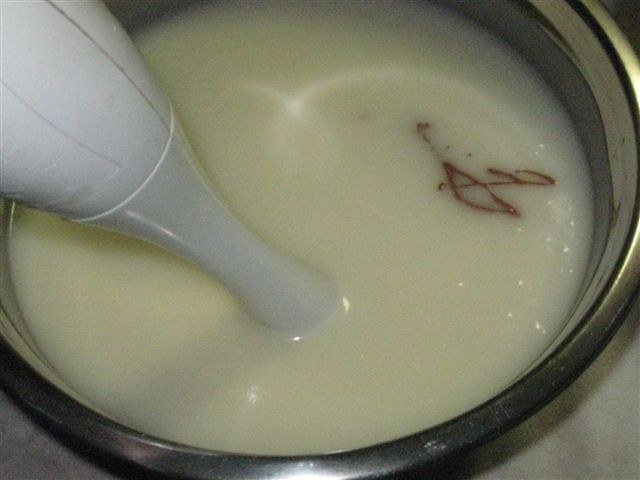
(Look there's part of my hand)

Once the two are combined the mixture becomes a creamy white color.

This is Creamy Orange Coconut, so I've made a mixture of yellow and red oxides to create a dark orange color. Then I add it to the soap.
Stick blend some more........

Stick blend together until evenly colored

Add fragrance oil. Sometime I do it before I color if I know that the fragrance oil is going to make the color of the soap funky so I have to adjust from there. Stick blend until a light trace begins. (Trace is when the stick blender begins to leave grooves in the mixture while you are stirring. Kind of like when you make whipped cream and it begins to firm up). Different fragrances oils make soap "trace" faster or slower than others. So I always do tests before make a complete batch.

Poor soap into a lined mold (my molds are wooden - thanks Dad!!!)

I like to leave it sit for a few minutes so it firms up a bit so I can give it a swirly top!

I use a wire whisk to create swirls on the top. Then I set it in the oven to gel.

This is French Vanilla - went to quick to take pics during.

This is Oakmoss being blended together.

This is Oakmoss getting a swirly top!

This is Lemongrass getting an in the pot swirl!

Lemongrass on top and Pure Rain on the bottom. I did not take pics of Pure Rain because it's multiple layers and the soap was firming up before I got the second layer on so it was a rush situation!

Orange Sherbet - everything is ready to go in the big bowl. The small bowl has the white portion that I set aside earlier to add as a reverse swirl in the soap!

Orange Sherbet swirled up and ready to go in the oven!

So that's it! That's how I make soap or at least the very quick not a lot of time to take more detailed pictures version! Hope you enjoyed this little sneek peek into my soap studio! I'll do more behind the scenes posts in the future.
Any questions?
Tomorrow I'll post pictures of the soaps all cut up and looking pretty! :0)
2 comments:
That looks awesome, and I am totally jealous of your soap-making skillz!
Awww thanks! You can be jealous of my soap skillz if I can be jealous of your photo taking skillz!!!!!!!!! :0)
Post a Comment